Moving a website sounds straightforward and most people expect it to be just about copying files from one host to another. But the reality is much more demanding. Around 60 percent of migrations face unexpected issues like data loss or downtime, and most of these could be avoided by properly auditing your current setup. Turns out, the real secret to a smooth migration is not high-tech tools or fancy servers, but a simple checklist and a bit of patience before you even start.
Table of Contents
- Step 1: Assess Your Current Website Environment
- Step 2: Choose a New Hosting Provider
- Step 3: Backup Your Website Data
- Step 4: Transfer Files to the New Host
- Step 5: Update DNS Settings
- Step 6: Test and Verify Website Functionality
Quick Summary
| Key Point | Explanation |
|---|---|
| 1. Assess your website environment thoroughly | Conduct a detailed inventory to document your current website’s components for effective migration planning. |
| 2. Choose a reliable hosting provider | Evaluate hosting options based on performance, security, and scalability to support your website’s future growth. |
| 3. Implement a robust backup strategy | Create comprehensive backups, including all website files and databases, to safeguard against data loss during migration. |
| 4. Use secure methods for file transfer | Employ FTP or SFTP and ensure all file permissions and structures are preserved during the transfer to the new host. |
| 5. Conduct thorough testing post-migration | Validate every aspect of your website’s functionality to ensure optimal performance after the migration to the new hosting environment. |
Step 1: Assess Your Current Website Environment
Migrating a website starts with a comprehensive understanding of your current digital landscape. This critical first step involves meticulously documenting every component of your existing website to ensure a smooth transition. Without a thorough assessment, you risk losing valuable data, functionality, or encountering unexpected complications during migration.
Begin by conducting a detailed inventory of your website’s technical ecosystem. This means mapping out not just your visible content, but the underlying infrastructure that powers your online presence. Start with a comprehensive site audit that examines your current hosting environment, database structures, content management system (CMS), and all integrated third-party tools and plugins.
Your assessment should include gathering specific technical details such as your current hosting provider, server configurations, database type and size, CMS version, and any custom scripts or modifications. Read our guide on website launch best practices for additional insights into preparing your digital infrastructure.
Key elements to document during this assessment include:
- Hosting platform and current server specifications
- Database type and total size
- Content management system and version
- List of all active plugins and custom integrations
- Current website architecture and file structure
Take time to review each component carefully. Examine your website’s performance metrics, load times, and existing security configurations. Note any historical issues or recurring technical challenges that have impacted your site’s performance. This documentation will serve as a critical reference point during the migration process, helping you recreate or improve your existing setup.
Below is a checklist summarising the critical components to document during your website environment assessment, ensuring nothing important is overlooked before migration.
| Component | What to Document | Why it Matters |
|---|---|---|
| Hosting Platform | Provider, server specs, operating system | Ensures compatibility and guides migration |
| Database | Type (MySQL, PostgreSQL), total size | Assists in planning export/import processes |
| CMS | Platform and version | Prevents feature or plugin compatibility gaps |
| Plugins/Integrations | List of all active plugins and third-party integrations | Ensures post-migration functionality |
| Website Architecture | Directory/file structure and custom scripts | Maintains site integrity and operation |
| Performance and Security | Load times, security configurations, recurring issues | Addresses previous pain points |
| Historical Issues | Note of any recurring site challenges | Informs migration strategy |
Verify your assessment by creating a comprehensive spreadsheet or document that captures every technical detail. Cross-reference your findings with actual server logs and CMS admin panels to ensure accuracy. A meticulous assessment now will save significant time and prevent potential data loss during the migration process.
Step 2: Choose a New Hosting Provider
Selecting the right hosting provider is a critical decision that will significantly impact your website’s performance, security, and scalability. This step transforms your technical blueprint into a functional digital infrastructure that supports your business goals. The hosting provider you choose will be the foundation of your website’s online presence, determining everything from loading speeds to reliability.
Begin by evaluating your specific requirements based on the comprehensive assessment completed in the previous step. Consider factors such as expected website traffic, storage needs, database complexity, and anticipated growth. Learn more about selecting the right hosting solution to make an informed decision.
Your hosting selection process should involve a thorough comparison of potential providers. Look beyond basic pricing and examine critical performance metrics. Prioritize providers offering robust infrastructure, reliable uptime, scalable resources, and comprehensive technical support. Some key considerations include server location, bandwidth allocation, storage type (SSD versus traditional hard drives), and the flexibility to upgrade resources as your website evolves.
Key evaluation criteria for hosting providers include:
- Performance metrics and average server response times
- Security features and SSL certificate provisions
- Backup and disaster recovery capabilities
- Technical support availability and responsiveness
- Scalability options for future growth
Research potential hosting environments that align with your website’s technological requirements. Whether you need shared hosting, virtual private servers (VPS), dedicated servers, or cloud hosting, ensure the provider can accommodate your specific technical ecosystem. Pay close attention to compatibility with your existing CMS, programming languages, and database systems.
Here is a comparative overview of common hosting types to help match your website requirements to the most suitable hosting environment during provider selection.
| Hosting Option | Scalability | Performance | Typical Use Case |
|---|---|---|---|
| Shared Hosting | Limited | Basic | Small sites, blogs, low traffic |
| VPS | Moderate | Improved | Growing websites, custom configurations |
| Dedicated Servers | High | Maximum | Large businesses, resource-intensive apps |
| Cloud Hosting | Highly scalable | Varies (very robust) | Sites with fluctuating or high traffic |
Verify your selection by requesting detailed documentation, checking customer reviews, and potentially initiating a trial period. A comprehensive evaluation now will prevent potential migration headaches and ensure a stable, performant hosting environment for your website.
Step 3: Backup Your Website Data
Backup represents your digital insurance policy during website migration. This critical step creates a comprehensive safety net that protects your valuable digital assets from potential data loss or corruption during the transition. A robust backup strategy ensures you can recover every piece of digital content, should anything go wrong during migration.
Explore our comprehensive website security best practices to understand the importance of comprehensive data protection. When creating your backup, you’ll need to capture multiple components of your website’s ecosystem. This includes your entire file structure, databases, configuration files, custom scripts, and any dynamic content that represents your online presence.
Start by selecting a comprehensive backup method that captures your entire website infrastructure. Professional website migration requires more than a simple file copy. You’ll want to create full, incremental, and differential backups that provide multiple layers of data protection. This means generating complete snapshots of your website, capturing changes since the last backup, and maintaining version history of your critical digital assets.
Key backup components to capture include:
- Complete website file structure and directories
- Full database exports
- Configuration and settings files
- Custom scripts and plugins
- Media libraries and uploaded content
Choose backup tools that integrate seamlessly with your current content management system. Many CMS platforms offer built-in backup solutions, while third-party plugins can provide more advanced backup capabilities. Consider using cloud storage services or dedicated backup platforms that offer encryption, versioning, and easy restoration options.
Verify your backup’s integrity by performing a comprehensive restoration test on a separate staging environment. This crucial step confirms that your backup contains all necessary files and can be successfully reconstructed. Run thorough checks to ensure database connections, file permissions, and site functionality remain intact during the test restoration process. A successful backup means you can confidently move forward with your website migration, knowing your digital assets are comprehensively protected.
Use this table to quickly reference the essential backup components you should safeguard during migration preparation, along with their core purposes.
| Backup Component | Purpose |
|---|---|
| Website Files & Folders | Preserve design, content, and structure |
| Database Exports | Secure user data, posts, products, and site settings |
| Config and Settings Files | Restore environment and CMS configurations |
| Custom Scripts & Plugins | Maintain custom functionality and integrations |
| Media & Uploads | Retain all images, documents, and multimedia assets |
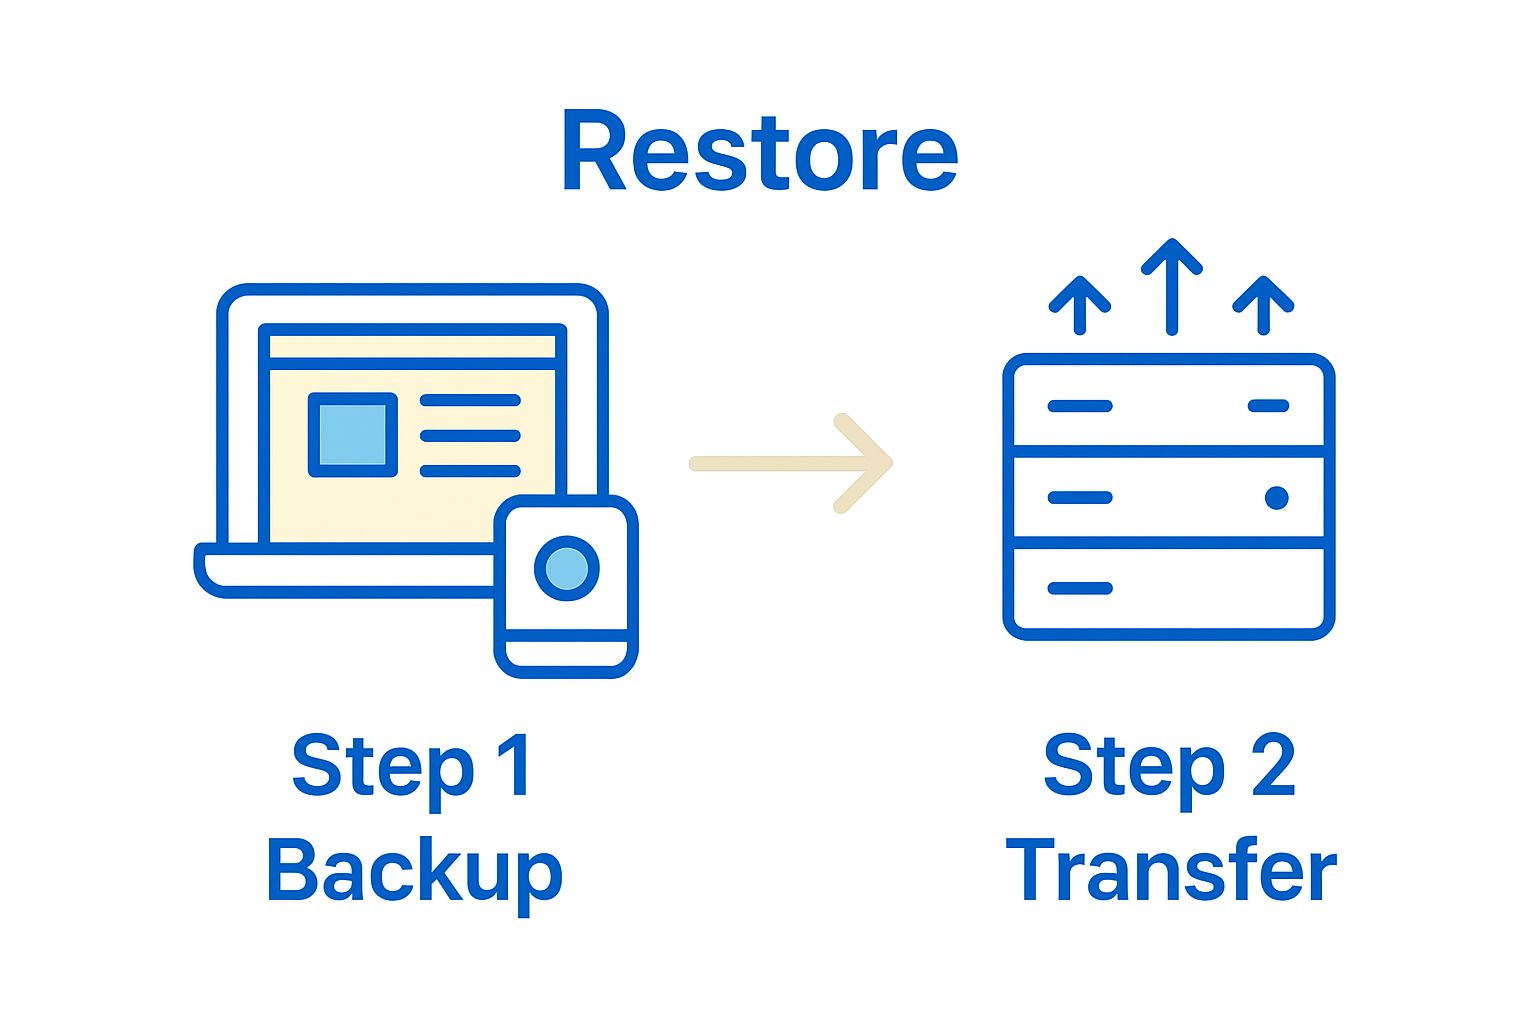

Step 4: Transfer Files to the New Host
Transferring website files represents a pivotal moment in your migration journey. This step transforms your meticulously prepared backup into a live environment, requiring precision, strategic planning, and careful execution. The file transfer process is more than a simple copy operation - it’s a complex choreography of digital assets moving between hosting platforms.
Begin by establishing a secure connection to your new hosting environment. Typically, this involves using File Transfer Protocol (FTP) or Secure File Transfer Protocol (SFTP) credentials provided by your new hosting provider. Understand more about website transfer best practices to ensure a smooth migration process.
Professional file transfer requires a structured approach. Start by uploading your website’s core files, including your content management system, theme files, and core application structures. Prioritize transferring files in a logical sequence that maintains interdependencies and prevents potential configuration conflicts. Pay special attention to preserving original file permissions and directory structures during the transfer.
Critical transfer considerations include:
- Maintaining original file and folder hierarchies
- Preserving file permissions and access rights
- Checking file integrity after transfer
- Managing large file uploads through chunked or resumable transfers
- Handling potential character encoding differences
Utilize professional migration tools or hosting control panel file managers that offer advanced transfer capabilities. Some hosting platforms provide specialized migration plugins or services that can automate complex transfer processes. These tools often include built-in validation mechanisms that verify file completeness and detect potential transfer interruptions.
Verify your file transfer by conducting a comprehensive comparison between your original backup and the newly transferred files. Use checksum tools to confirm file integrity, ensuring no data corruption occurred during the migration. Run initial tests on your transferred website to validate that all files are in the correct location and functioning as expected, setting the stage for the next critical migration steps.
Step 5: Update DNS Settings
Updating DNS settings marks the critical transition point where your website switches from the old hosting environment to the new digital infrastructure. This step transforms your meticulously prepared website from a static backup into a live, accessible online presence. DNS configuration is the digital signpost that directs internet traffic to your new hosting location, making it a pivotal moment in your website migration journey.
Learn about global DNS propagation timelines to understand the technical nuances of this process. Begin by obtaining the specific nameserver information from your new hosting provider. These nameservers are unique identifiers that will route internet traffic to your website’s new server location.
Access your domain registrar’s control panel, which is typically the platform where you originally purchased your domain name. Carefully replace the existing nameserver entries with the new nameserver details provided by your hosting provider. This process requires precision and attention to detail, as incorrect entries can result in website unavailability or routing issues.
Key considerations during DNS update include:
- Verifying exact nameserver addresses
- Recording original DNS settings as a backup
- Understanding potential propagation delays
- Checking domain forwarding settings
- Monitoring website accessibility during transition
Understand that DNS propagation is not instantaneous. While technically possible within hours, the global internet infrastructure might take up to 48 hours to fully recognize and implement your new DNS configuration. During this period, some users might be directed to your old server while others access the new hosting environment. This overlap requires patience and strategic monitoring.
Verify your DNS update by checking your website’s accessibility from multiple networks and geographical locations. Use online DNS propagation checking tools to confirm that your domain successfully points to the new server. Conduct thorough testing across different devices and network connections to ensure a seamless transition, marking a successful completion of this critical migration step.
Step 6: Test and Verify Website Functionality
Website testing represents the critical quality assurance phase of your migration journey, where theoretical planning transforms into practical performance validation. This step ensures that every digital component functions precisely as expected in the new hosting environment, protecting your online presence from potential operational disruptions.
Explore our comprehensive guide to website usability testing to understand the nuanced approaches to thorough website verification. Begin by creating a systematic testing strategy that covers every aspect of your website’s functionality. This means methodically examining not just visual elements, but the intricate technical interactions that define user experience.
Start with a comprehensive functionality check that scrutinizes every website feature. Test all interactive elements, including contact forms, search functions, user registration processes, and dynamic content loading. Verify that database connections remain stable, all scripts execute correctly, and third-party integrations function seamlessly in the new environment. Pay special attention to features unique to your website, such as custom plugins, e-commerce components, or membership systems.
Critical testing parameters include:
- Full site navigation and internal linking
- Form submissions and data processing
- Payment gateway functionality
- Mobile responsiveness across devices
- Performance under various network conditions
Utilize multiple testing approaches to ensure comprehensive validation. This includes automated testing tools, manual browser-based checks, and simulated user scenarios. Test your website from different geographical locations and through various network connections to simulate real-world access conditions. Check loading speeds, examine error logs, and verify that all redirects and URL structures remain consistent with your original site configuration.
Verify your migration’s success by conducting a final comprehensive review. Compare performance metrics between your old and new environments, ensuring that page load times, server response rates, and overall user experience meet or exceed previous standards. A successful test confirms that your website is not just functional, but optimized and ready for full public deployment.
Refer to this summary table to guide post-migration testing, helping you ensure your site operates smoothly and all vital features function as expected.
| Functionality Area | What to Test | Verification Approach |
|---|---|---|
| Navigation | Links, menus, page load | Click-through tests |
| Forms | Submissions, validation | Test with sample entries |
| Payment Gateways | Transactions, error handling | Simulated purchases |
| Database Connections | Data retrieval & updates | Form/database-driven actions |
| Third-party Integrations | API calls, plugins | Integration/status checks |
| Mobile Responsiveness | Layout, usability | Device/browser checks |
| Site Speed | Load times, performance | Speed audit tools |
Ready to Move Your Website Without Risk?
Migrating a website can bring up anxiety about data loss, performance drops, and downtime. This step-by-step guide highlights the importance of careful site assessment, robust backup plans, and smooth DNS updates. If you’ve ever felt overwhelmed by the technical details or worried about keeping business running while your site moves, this is your chance to sidestep those pitfalls. Missing just one critical step—like backing up the right files or configuring DNS settings properly—could set you back, disrupting your brand and losing customers.
You do not have to face these risks alone. Partner with experts who understand every stage of website migration and set you up for seamless growth. Whether you need custom solutions, ongoing support, or simply peace of mind, get a tailored web development solution that meets your migration needs now. Take the first step towards a hassle-free website transfer and secure your business assets—contact us through our digital solutions page today.
Frequently Asked Questions
How do I assess my current website environment before migration?
Begin by conducting a detailed site audit to document all components of your existing website, including its hosting environment, database structures, and CMS version. Create a comprehensive spreadsheet capturing each technical detail to use as a reference during the migration process.
What factors should I consider when choosing a new hosting provider?
Evaluate your specific requirements, such as expected website traffic, storage needs, and scalability. Prioritize providers that offer reliable uptime, strong security features, and comprehensive technical support to ensure your new hosting environment meets future demands.
How can I ensure my website data is backed up properly before migration?
Implement a robust backup strategy that includes full, incremental, and differential backups of your website’s files and databases. This way, you can protect your digital assets and quickly restore them if anything goes wrong during the migration process.
What steps should I follow to transfer files to the new host?
Establish a secure connection using FTP or SFTP, and then upload your website’s core files in a structured manner while preserving permissions and directory structures. Make sure to check for file integrity after the transfer to confirm everything is in the right place.
How do I update DNS settings after migrating my website?
Obtain the nameserver details from your new hosting provider and access your domain registrar’s control panel to replace old nameserver entries with the new ones. Be aware that DNS propagation can take up to 48 hours, so monitor accessibility during this period.
What should I test after migrating my website to ensure functionality?
Conduct a comprehensive functionality check on all interactive elements, including forms, database connections, and third-party integrations. Test navigation, responsiveness on various devices, and performance under different network conditions to ensure everything is working as expected.
Recommended